Since the company’s inception, Radonova has prided itself on its industry leading quality procedures and processes in terms of radon measurement. Our measurement ethos and methodologies are globally recognised and importantly adjusted for the individual requirements of every country. To date, we have delivered radon measurements to over 50 countries. Due to our efficient processes and high degree of digitalisation, we offer short delivery and analysis times across Europe and North America.
So, how do we do this? There are five steps which are critical to ensuring quality assured radon measurements…
Accreditation
Radonova’s measurement methods are accredited in accordance with ISO/IEC 17025. Therefore, our measurement processes are continuously audited by an independent state body which has to be a member of the European Accreditation. This review is conducted annually and takes place on site for at least two days. We are also audited for impartiality, which is a requirement of ISO/IEC 17025. Consequently, there is no self-interest for Radonova to demonstrate a certain measurement result. Read more about our accreditation here.
Validation
Some countries require validation of their measurement process. This is normally done by submitting radon detectors for blind testing at a national authority where the detectors are exposed to different levels of radon. The detectors are then sent back to Radonova’s laboratory for analysis and a measurement result is produced. The result is then compared with the official value of the national authority. Here you can read about the results of our latest validation test.
Comparison tests
Radonova regularly participates in national and international comparison tests. In these tests, different radon laboratories contribute voluntarily and radon detectors from different suppliers are exposed at the same time to a radon content that participants aren’t aware of in advance. The results of the tests form the basis of Radonova’s accreditation. One of the most demanding comparison tests is the German federal authority BfS (Bundesamt für Strahlenschutz). Here you can read more about those particular results.
Customer control
Radonova’s customer tests are primarily conducted in the United States and Canada, which has a different approach to European quality testing in radon laboratories. For example, every tenth detector should have a “duplicate”. This means that there should be two radon detectors at 10% of the measuring point, and the results of the two detectors should be compared. By doing this, you can check the uniformity of the results from the measurement laboratory. In addition, accuracy is verified as customers who conduct multiple measurements are required to send 3% of their Radonova detectors to a test facility with specific reference values. This enables a blind test, where the customer is able to confirm that the measurement is reliable. Customers are also required to follow up and check on unexposed radon detectors “blanks”.
Internal tests
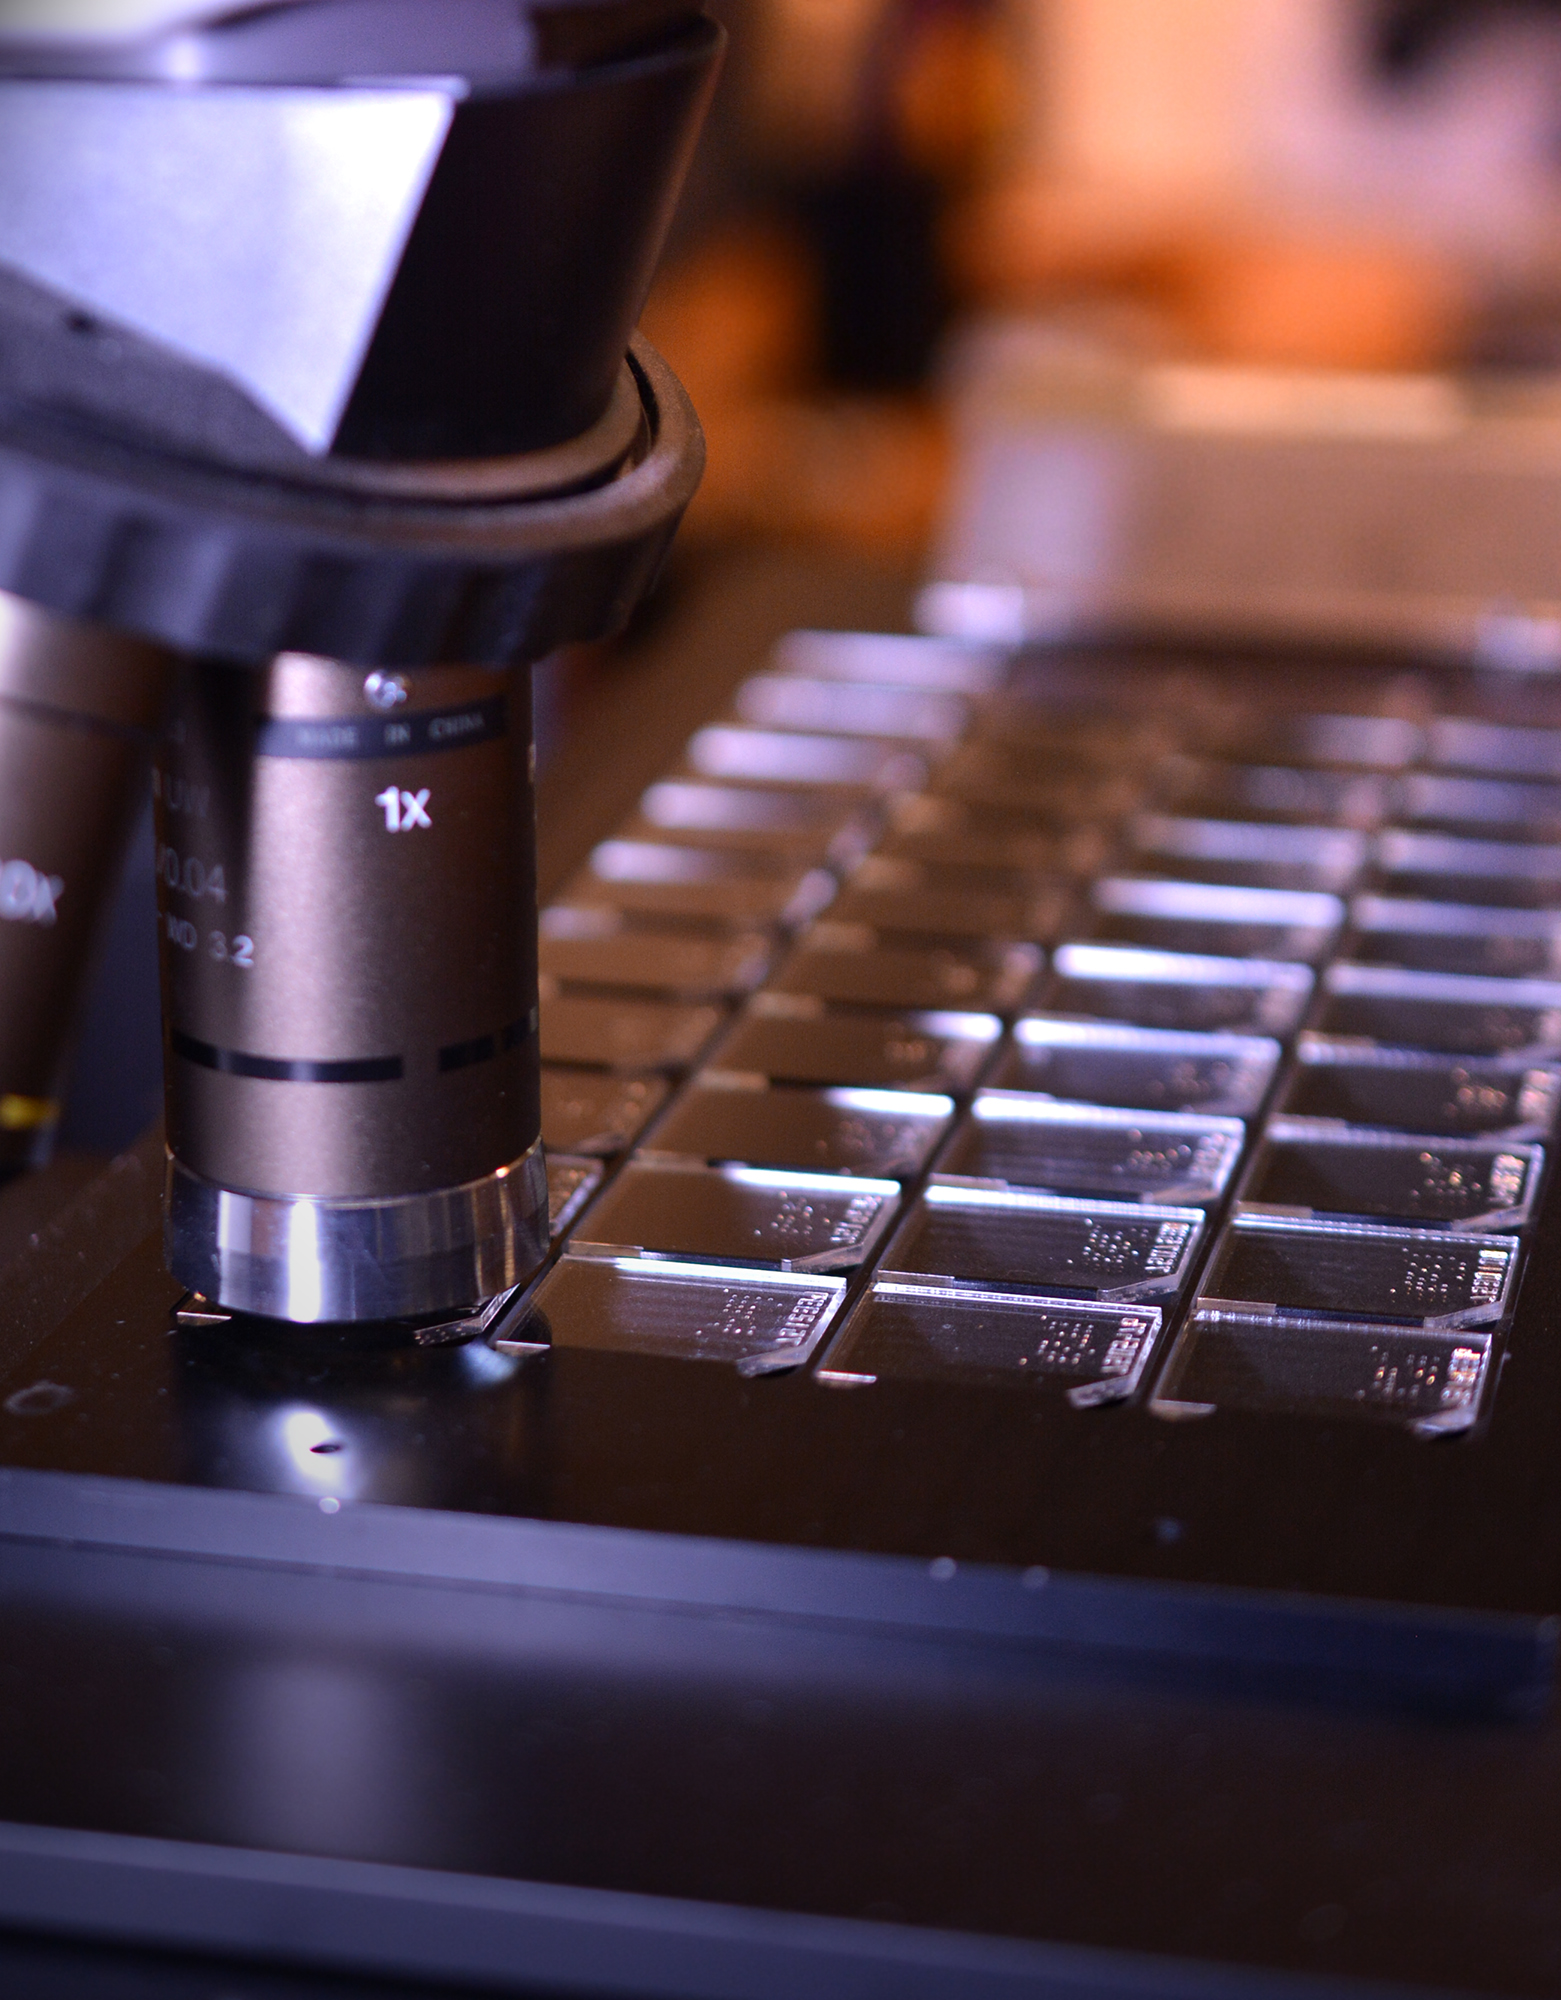
Each measurement includes at least two radon detectors that have been exposed in a calibration chamber with known radon content. By checking that these radon detectors display the correct results, we are able to quality assure our measurement process in the laboratory.
